model - Now 02, 2025

The modern virgin killer sweater dress is a very specific piece of knitwear: a short, body hugging, backless mini with a tall collar and side exposure that sculpts the torso into a pronounced hourglass. This article unpacks how the silhouette is engineered, which fibers are commonly used and how they behave over time, how to wash and store the garment so it survives more than one session, how to complete the look with supportive accessories without breaking the visual line of the back, and what to plan for if you want to knit or sew your own interpretation from a pattern labelled “virgin killer sweater pattern.” Throughout, the focus is on practical detail, numbers you can act on, and real world fit tactics rather than generalities.
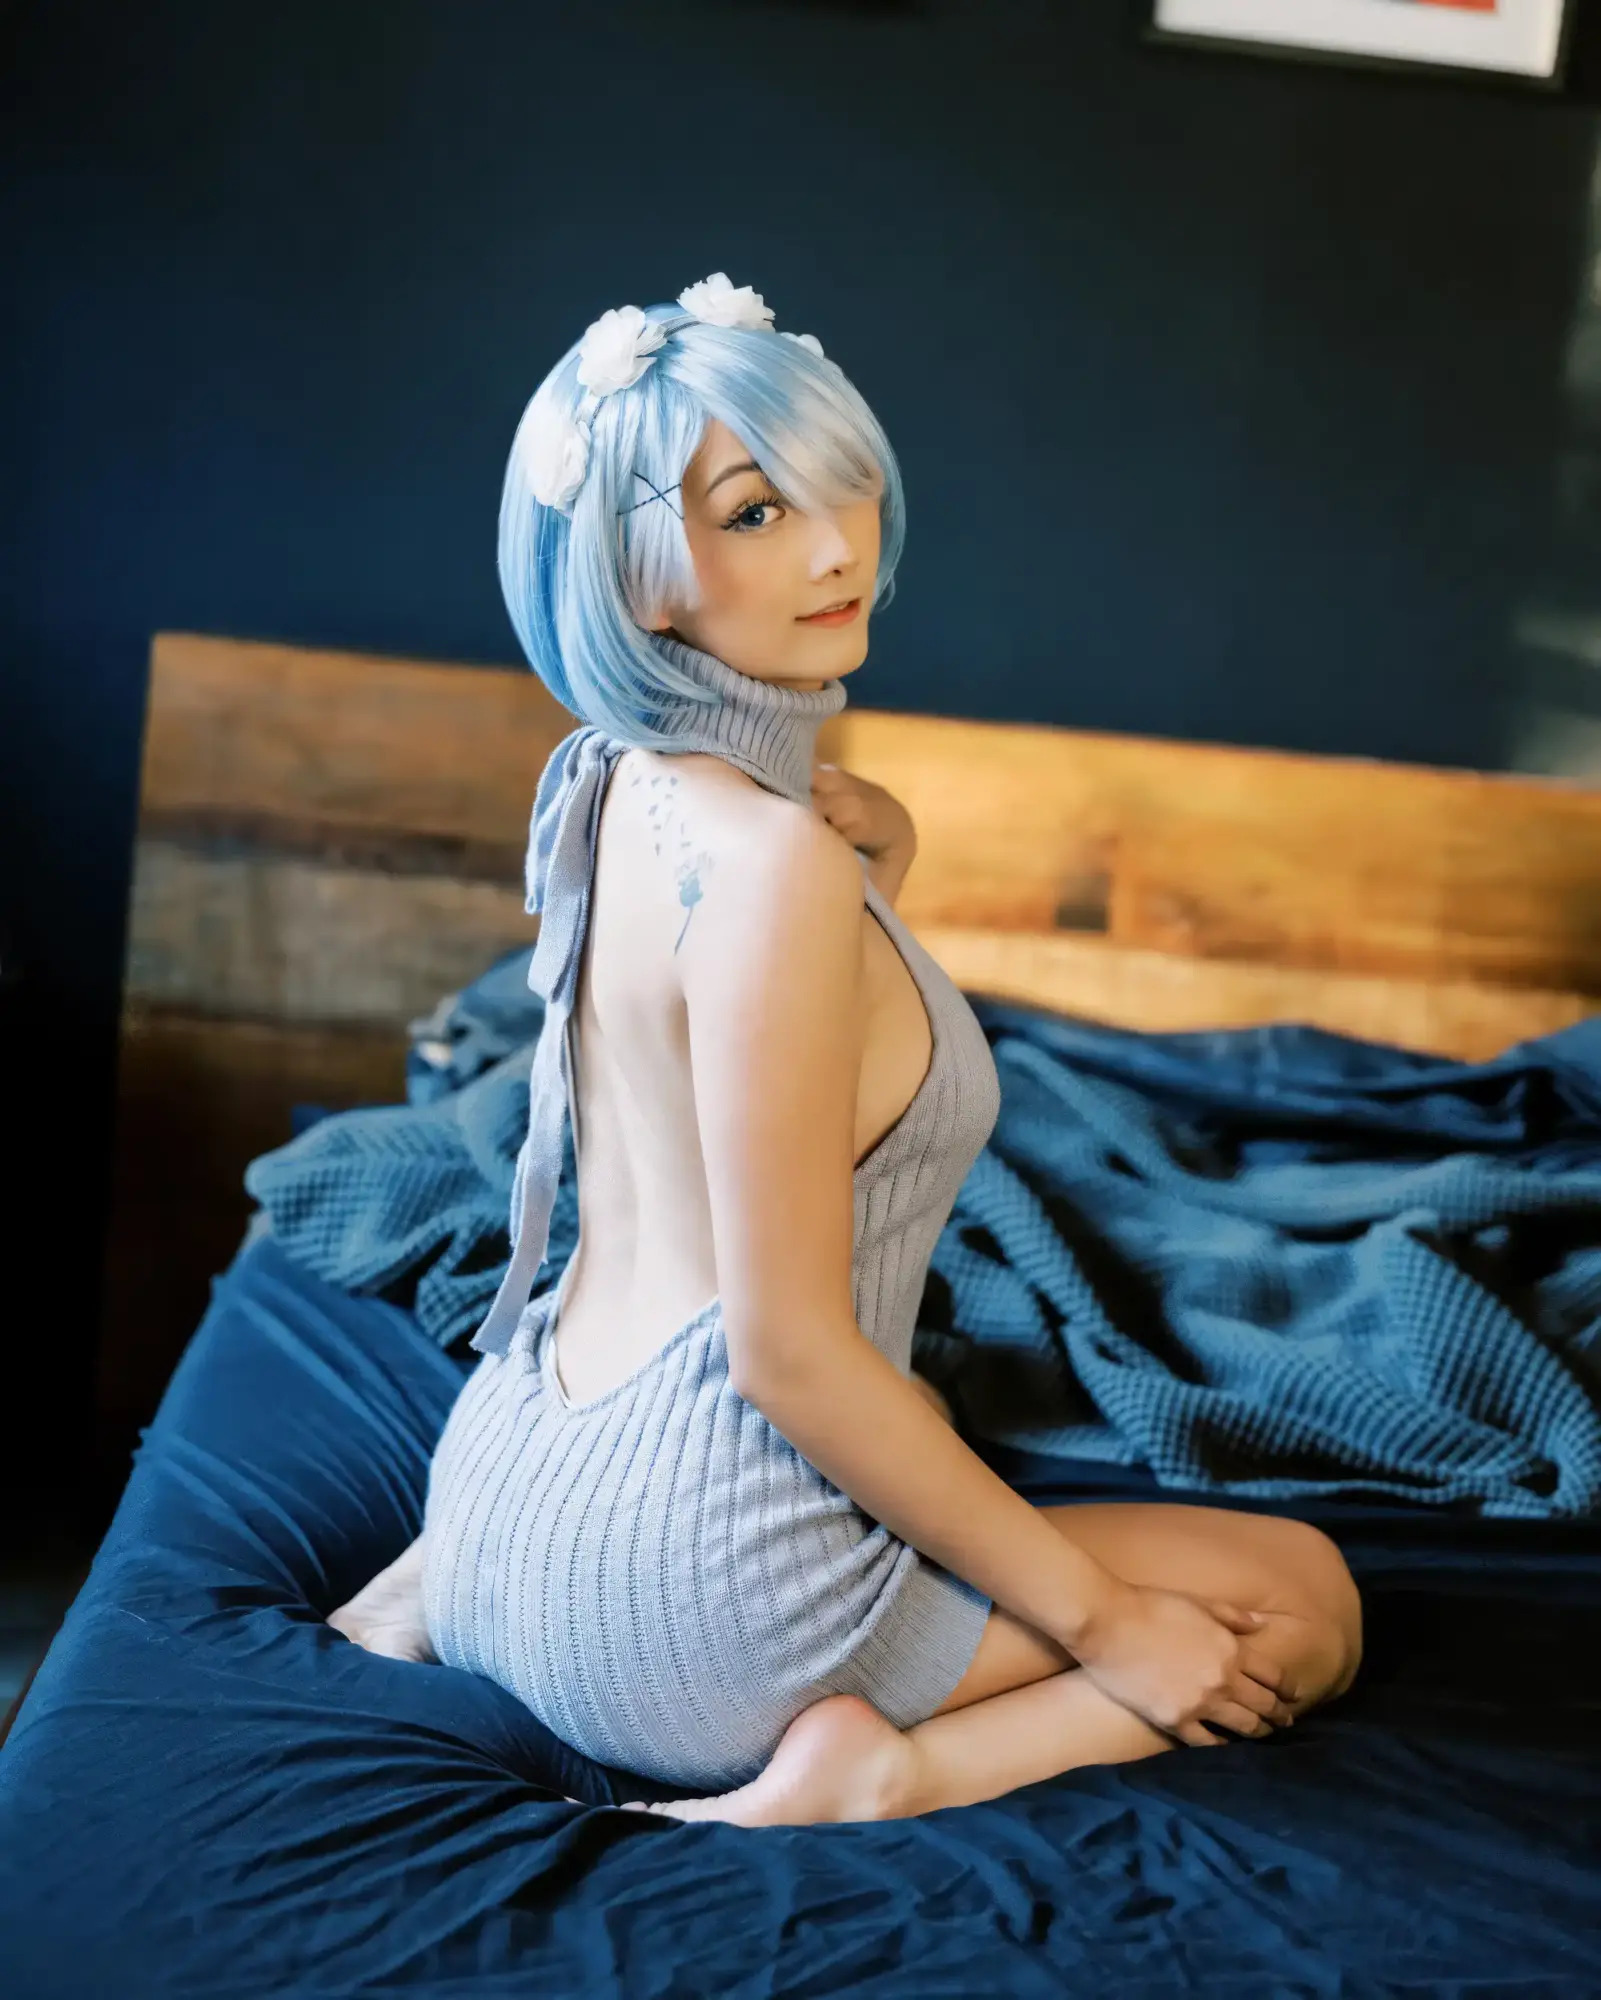
The signature outline combines a high turtleneck style collar, a sleeveless shoulder line, an aggressively open back that drops almost to the top of the butt, and narrow side fronts that cup the chest from the outer edge. The front panel is intentionally simple and smooth, because the contrast between covered throat and exposed spine amplifies the visual impact. Most production pieces are knit with negative ease across the bust and waist, which means the garment circumference is smaller than the body and relies on stretch to cling. A practical starting target is a negative ease of about ten to fifteen percent around the bust and about eight to ten percent at the waist, with the hip line cut closer to body size to avoid hem roll and riding up. On a short mini, hem lengths commonly sit between 28 and 33 inches from collar to lower edge for an average height wearer; anything longer dilutes the “mini” idea while anything shorter risks constant adjustment. The reason sellers sometimes call this a “sweatshirt” or “shirt” is marketing shorthand rather than construction reality, because the piece is a dense knit dress without a back panel, not a loopback fleece or a jersey tee.
Back geometry is what separates a convincing virgin killer dress from a lookalike. The opening is usually an elongated oval whose lowest point hovers a few inches above the gluteal fold. If the oval is cut too narrow, the fabric twists and crawls toward the center; if it is cut too wide, the side fronts lose tension and the neckline collapses. Good patterns solve this by shaping the opening with gradual bind offs or short row turns over many rows rather than an abrupt cut, which spreads stress and keeps the collar anchored. Side apertures serve a second function beyond exposure: they reduce bulk at the outer bust, which visually sharpens the waist when viewed from three quarters angle. The entire system only works if the collar stands. That requires a firm rib at the neck and a stable transition from rib to stockinette so the weight of the front does not drag the collar down.
Most mass market versions are knit from soft acrylic or acrylic blended with polyester, nylon and a small percentage of elastane. Acrylic is popular because it is inexpensive, takes color evenly, resists moths and, most importantly for this design, stretches and rebounds enough to create the clingy line that people expect. The downsides are familiar to anyone who owns fast fashion knitwear: acrylic pills when fibers abrade, it can build static, and it can grow longer if it is stored hanging. Adding two to five percent elastane improves recovery so the dress snaps back after movement, while a dash of nylon strengthens the yarn and slows down pilling. A heavier yarn or a tighter gauge will always pill less than a very loose one, because long floats and low twist create more friction points. If you have a choice between two similar dresses, squeeze the fabric in your fist and release; the version that recovers its shape instantly and springs back into a smooth plane will look neater after an hour of wear than the version that stays rumpled.
Thermal comfort is not the goal here. Even a thick acrylic front does not compensate for the removed back and the deep side cutaways, so you should think of the dress as a visual statement rather than insulation. What matters more is opacity and handfeel. Look for a knit dense enough that it does not turn sheer over the chest when stretched, and run a fingernail lightly across the surface to check for snags. If the yarn catches easily on a nail or on a ring, it will catch on every zipper and rough surface at a venue. Color saturation also affects perceived quality. Solid black, deep red and pastel pink are common in this category; very light shades can reveal seam shadows and tape outlines, while saturated shades hide them better. If you are sensitive to static, a quick pass with a lightly damp microfiber cloth before a shoot often tames cling without adding residue.
A special sale for new customers from our partners has already begun.
Discount on all items in The Ultimate Destroyer Outfit collection.
Days
Hrs
Mins
Secs
Think of the dress as delicate knitwear. Turn it inside out before washing, and use cool water around 30 degrees Celsius with a small amount of mild liquid detergent formulated for woolens or delicates. Do not wring. Press water out by rolling the dress in a towel and pressing from the ends toward the center, then lay it flat on a second dry towel or a mesh rack to dry. Hanging a wet or even damp dress will stretch the neckline and lengthen the hem, because water multiplies the weight that the collar must carry. If you machine wash, place the turned inside out dress in a finely woven garment bag, select a gentle cycle, set low spin, and skip fabric softener which can leave a film that attracts lint. Once dry, store the dress folded on a shelf rather than on a hanger so the collar does not bear the weight of the front. If pills appear after a few wears, remove them with a sharp sweater comb or an electric depiller held lightly against the surface; work in straight passes rather than circles to avoid scuffing the knit. Before packing the dress for travel, sandwich it between two large pieces of tissue to limit friction and keep the open back from tangling with metal accessories.
Because the back and sides are open, traditional bras almost never work. The reliable alternatives are adhesive nipple covers, silicone or fabric stick on cups for lift, medical grade body tape for shaping, and a very low micro thong in a color close to your skin tone. Test all adhesives on a small area the day before a session to rule out irritation. The most convincing outfits treat support as an invisible foundation and layer style on top. Overknee socks and sheer or opaque stockings draw the eye down the legs and help the mini length feel intentional rather than accidental. A slim choker or a soft collar echoes the tall neckline, and a cropped cardigan or a faux fur shrug can act as a quick modesty layer when moving between rooms without destroying the back view when removed. If you wear long hair, plan two looks: hair down for the front shots and hair lifted or tied for the back shots so the oval opening reads cleanly in at least a few frames. Small choices like matching nail polish to the knit color or selecting metallic accessories that repeat a chain strap detail create the impression of a styled character rather than a random sweater worn indoors.
Making your own version gives control over length, openness and fit but demands planning. Begin with a large swatch at least ten by ten centimeters in the exact stitch pattern you will use, wash and dry the swatch the way you will care for the dress, then measure the post wash gauge. Build your pattern math on that post wash number rather than the dry number so the finished garment is not shorter or narrower than intended. For the collar, a firm one by one or two by two rib with a smaller needle size than the body produces a standing tube that frames the throat. Stabilize the transition from collar to body with one tight row through the back loop or with a slim strip of clear elastic sewn along the inside of the first plain knit row to prevent the front panel from dragging the collar down. The back opening is the hardest part. Shape it slowly over many rows, lifting the curve with short rows that stop and turn before the side edge so the opening remains elliptical rather than triangular. Finish the inner edge with an i cord or a narrow ribbed band so it resists rolling and looks clean in close photos. Plan a small amount of negative ease through the bust and waist, then use short rows over the full bust to add three dimensional volume without adding width at the side seam. If you sew rather than knit, choose a stable rib knit with four way stretch and bind the back opening with a self fabric band cut slightly shorter than the opening length so it hugs the curve.
Yarn choice determines behavior more than any other factor. A soft acrylic or acrylic plus nylon blend is easy to maintain and affordable, while a blend that includes a few percent elastane improves recovery at stress points like the side bust. Very fluffy yarns blur the opening edges and look cozy but can shed and hide shaping stitches; very smooth yarns show every detail and photograph sharply but can feel less forgiving. Work the hem with a stretchy bind off or a narrow folded hem to prevent cutting into the thighs. After finishing, block the dress flat and let it dry completely before the first try on, because blocking reveals whether the collar stands, whether the oval opening is symmetrical, and whether the side edges pull. If the collar still collapses, stitch a hidden strip of lightweight knit interfacing inside the collar or run a line of invisible elastic along the fold to help it stand.
The fastest way to protect both confidence and content is to record a short rehearsal. Put on the full foundation and dress, place your phone on a shelf at chest height, and film yourself raising both arms overhead, twisting side to side, sitting, standing, and walking five slow steps forward and back. Watch the recording rather than the mirror. A mirror follows your eye and hides gaping at angles, while a camera exposes it. If the back edge rides up when you lift your arms, the side fronts are too narrow or the collar attachment is too loose. If the side bust opens when you twist, add body tape from the inner bust to the front panel or reduce the depth of the side curve. If the hem flips as you sit, steam lightly and hand press downward while cooling, or add a barely heavier hem finish to teach the edge to hang. Carry a small emergency kit that includes spare covers, a roll of body tape, a compact depiller, alcohol wipes for skin prep and a soft cloth for static, and store it with the dress so you never forget it on a shoot day.
“Fashion fades, only style remains the same.” — Coco Chanel


The virgin killer sweater dress works because construction and material amplify a simple visual idea: a quiet, covered throat and a shockingly open spine supported by fabric that clings and rebounds. Choose dense but soft knits with a hint of elastane for recovery, treat the garment like delicate knitwear during washing and storage, build invisible support so the outline stays clean from every angle, and, if you decide to create your own, measure and test after washing so reality matches the sketch. When the engineering is right, the result is not only a viral silhouette but a piece you can trust through movement, lighting changes and the close scrutiny of a camera.
Leave A Comment